From Paper to Digital How to Install Electronic Shelf Labels
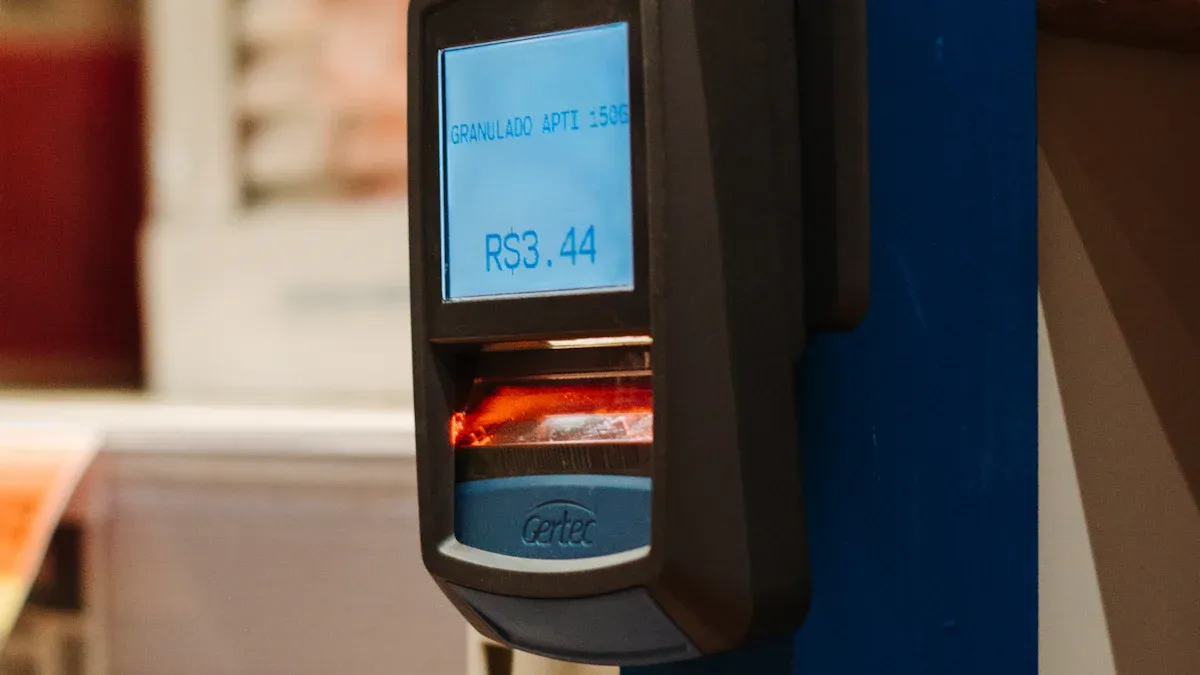
When you buy and install electronic labels, you begin a three-phase process: system setup, hardware deployment, and data synchronization. This action transitions your store from manual paper pricing to an efficient, automated digital system. Electronic Shelf Labels dramatically reduce pricing errors.
Studies show this switch can decrease pricing error rates from an average of 3% down to as little as 0.01%.
Your new system uses an ESL Gateway AP to communicate with each ESL Price Tag, ensuring real-time accuracy. This automation delivers powerful operational efficiency to your Esl Retail environment.
Pre-Installation: Planning Your ESL System

A successful digital transformation begins long before you buy and install electronic labels. Proper planning is the most critical phase. It ensures your investment delivers maximum value and minimizes future complications. This stage involves a detailed evaluation of your store, components, and existing software.
Assessing Your Store's Layout and Needs
First, you must create a blueprint of your retail environment. A thorough assessment of your store's infrastructure is essential for reliable system performance. You need to map out your facility to guarantee seamless communication between the gateways and every single label.
- Device Location: Identify the precise location of all equipment that will use the wireless network, including ESLs, mobile terminals, and other IoT devices.
- Network Resilience: Simulate the radio frequency (RF) environment during a pilot phase. Use mapping tools to find and eliminate any communication 'dead zones' caused by store layout or interference.
- Power and Shelving: Plan for the multi-year lifespan of ESL batteries. Schedule battery replacement cycles during non-peak hours to avoid disrupting store operations.
Choosing the Right ESL Components
Next, you will select the hardware that fits your store's specific requirements. Your choice of communication protocol is a key decision. Most ESL systems use radio frequency (RF) for its broad coverage, while others use infrared (IR) for its faster data speeds and lower power consumption. You also need to consider how the labels will attach to your shelves.
Tip: Modern ESL holders are highly versatile. Many use a strong foam tape that adheres directly to various shelf types, including metal, wood, glass, and wire, making installation straightforward.
Integrating with Your Existing POS/ERP System
Connecting the ESL system to your Point of Sale (POS) or Enterprise Resource Planning (ERP) software is a common concern. However, modern ESL platforms are built for this challenge. Many retailers worry about compatibility with legacy systems, but vendors now provide robust Application Programming Interfaces (APIs) and middleware to ensure a smooth connection.
Leading ESL providers offer pre-built connectors and documented APIs (like REST and SOAP) for major retail systems such as SAP, Oracle, Shopify POS, and Microsoft Dynamics. While high initial costs and integration complexities can be a hurdle for small-to-medium businesses, a well-integrated system pays for itself quickly. Studies show a complete return on investment can be achieved in as little as 18 months.
Understanding the Core Components
Before you buy and install electronic labels, you must understand the three pillars of your new system. Each component—the software, the gateways, and the labels—plays a distinct role. Together, they create a powerful network that automates your pricing and promotions.
The Central Management Software (CMS)
The Central Management Software (CMS) is the brain of your entire ESL operation. This platform gives you centralized control over every label in your store. From a single dashboard, you can manage pricing, monitor system health, and control user access. Your CMS replaces manual updates with instant, accurate changes across the sales floor.
Key functionalities of a modern CMS include:
- Centralized Control: Manage all labels from any smart device connected to your network.
- System Monitoring: Check the status of labels, gateways, and database connections at a glance.
- User Management: Assign different permission levels to team members, ensuring only authorized staff can make changes.
- Flexible Data Storage: Choose between local, cloud-based, or hybrid data storage to fit your IT infrastructure.
Communication Gateways
Communication gateways, or access points, are the messengers of your ESL system. These devices transmit data from your CMS to the electronic labels on the shelves. You will install gateways throughout your store to create a seamless communication network. A single gateway's coverage depends on the store environment and technology.
For example, a gateway might cover a 50-meter diameter with obstacles but can reach over 150 meters in an open space. The number of labels one gateway can manage also varies widely, from over 200 to as many as 50,000, depending on the manufacturer.
Proper placement is crucial to eliminate dead zones and ensure every label receives updates reliably.
The Electronic Shelf Labels (Tags)
The electronic shelf labels, or tags, are the most visible part of your new system. These small e-paper screens display product names, prices, and promotional information. One of the most significant advantages of modern e-paper labels is their incredible energy efficiency.
- Battery Life: Most e-paper tags have a battery life of 5 to 10 years, as they only consume power when the display changes.
- Update Frequency: The more often you update a label, the faster its battery will drain.
- Environmental Factors: Extreme temperatures can also impact battery performance over time.
This long lifespan minimizes maintenance, making the system a cost-effective replacement for paper.
How to Buy and Install Electronic Labels: A Step-by-Step Guide
You have planned your system and understand the components. Now you can move to the hands-on deployment phase. This guide walks you through the physical installation, from setting up the software to placing the last label on the shelf. Following these steps ensures a smooth and successful transition to your new digital pricing system.
Step 1: Set Up the Central Management Software
Your first task is to establish the digital command center for your ESL system. The Central Management Software (CMS) installation is the foundation of the entire project. You will typically install the software on a dedicated server within your local network or access it through a cloud-based portal provided by your vendor.
The initial setup involves configuring the software to communicate with your store's database. You will link the CMS to your POS or ERP system, creating the data pipeline for product information and pricing. During this stage, you will also establish user roles and permissions. This action ensures that only authorized team members can make critical changes to pricing and promotions.
Note: Most ESL vendors provide detailed installation guides and support for this process. Work closely with their technical team to ensure the software is configured correctly for your specific IT environment.
Step 2: Install and Configure Communication Gateways
With the software running, your next step is to build the wireless network that connects your CMS to the labels. This requires the strategic installation of communication gateways, or access points. Proper placement is essential for 100% signal coverage and reliable updates.
To achieve optimal performance, you should follow a structured approach to gateway placement:
- Define Network Requirements: First, identify all devices that need coverage, including your ESLs and any mobile terminals. Assess your store's layout to determine the total coverage area and account for device density. A higher number of labels often requires more gateways to handle the communication traffic.
- Conduct a Site Survey: Next, you must evaluate the physical environment. Use your store's floor plans to map out potential mounting locations, power sources, and network access points. Test the radio frequency (RF) signal strength to identify and eliminate "dead zones" caused by metal shelving, concrete walls, or other obstructions.
- Determine Gateway Quantity: Finally, calculate the number of gateways needed. A single indoor gateway might cover around 42,000 square feet, but this varies by manufacturer and environment. Plan for redundancy by installing overlapping gateways. This prevents a single point of failure and guarantees consistent connectivity.
Physically installing the gateways is usually straightforward. Most units can be mounted on walls or ceilings using a simple wall hanger. For power, you have several options:
- Power over Ethernet (POE): This is a popular choice. It allows a single Ethernet cable to provide both data connectivity and electrical power.
- AC Power Supply: You can also use a standard AC adapter if a power outlet is nearby.
- USB Gateways: Some modern systems offer USB-powered gateways. These devices eliminate the need for extra cabling and can be plugged directly into existing hardware, simplifying the process when you buy and install electronic labels.
Step 3: Mount the Labels on Your Shelves
This is the final and most visible step of the hardware installation. You will now physically attach the electronic shelf labels to your shelves. The goal is to ensure each label is secure, aligned, and clearly visible to customers. The method you use will depend on your shelving type and the mounting accessories you selected.
A wide array of mounting hardware is available to fit nearly any retail environment. Common options include:
- Rail Systems: These are profiles that attach directly to the shelf edge. They allow you to slide labels into place for perfect alignment. Rails are available for most major shelving systems, including Tegometal, CAEM, and wire shelving.
- Clips and Adapters: Individual clips, hooks, and adapters offer flexibility. You can find specialized adapters for pegboards, glass panels, and wire baskets.
- Magnetic and Adhesive Mounts: For metal shelves, magnetic mounts provide a tool-free and easily adjustable solution. Strong adhesive pads work well for surfaces where drilling is not an option.
- Stands and Holders: Freestanding holders are ideal for countertop displays, deli cases, and produce sections.
Once you have your labels and accessories, the installation process is efficient. For a rail system, the procedure is simple:
- Carry the boxes of labels to the correct aisle or section.
- Attach the label to the rail. You typically do this by inserting the upper hook of the label's rear case into the top of the rail.
- Press firmly on the bottom corners of the label until you hear a distinct "click." This sound confirms the label is locked securely in place.
This process makes it easy to buy and install electronic labels across an entire store quickly. The right holders not only secure the labels but also protect them from bumps and daily wear, maintaining a clean and professional appearance.
Step 4: Link Labels to Products in the CMS
With your hardware in place, you can now create the digital connection between each label and its corresponding product. This process, often called "binding" or "pairing," is managed entirely within your Central Management Software (CMS). You are essentially telling the system which product information to display on which specific tag.
The core of this process is the 'Product ID'. This unique identifier, such as a SKU or barcode number, acts as the bridge between your product database and the label. When you link a Product ID to a label, the CMS pulls all associated data—price, name, promotional details—and prepares it for transmission.
While the exact interface varies by vendor, the general workflow is consistent:
- Access your CMS dashboard and navigate to the label management section.
- Select the specific label you wish to configure, often identified by its unique serial number.
- Assign a 'Product ID' to bind the label to an item in your database.
- Choose a display template that dictates how the information will be arranged on the screen.
- Preview the layout to confirm it looks correct before saving the link.
This digital handshake is a critical part of the process when you buy and install electronic labels. It transforms a blank e-paper screen into a dynamic, data-driven tool for your store.
Step 5: Test the System and Validate Data
Your final step before going live is to conduct thorough testing. You must validate that the entire system works flawlessly, from the CMS to each individual label on the shelf. This phase ensures data integrity and builds confidence in your new automated pricing infrastructure. A small error here can cause major issues for customers and staff.
Pro Tip: Create a comprehensive test plan before you begin. Your plan should cover typical pricing changes, large-scale promotions, and even simulated system failures to confirm your setup is resilient.
Your primary goal is to confirm that data flows accurately from your POS/ERP system to the shelf edge. You can achieve this through a series of validation checks.
- Confirm Data Accuracy: Manually cross-check a sample of labels against your ERP data. Verify that the price, product name, and unit of measure are identical across both platforms.
- Implement Automated Checks: A robust system uses continuous, automated validation to detect inconsistencies in real-time. This helps you find and fix issues before they impact the customer.
- Check for Missing Data: Use completeness checks to automatically detect any labels that failed to receive an update or are missing information.
- Maintain Detailed Logs: Your system should log all validation activities. These records are invaluable for auditing purposes and for troubleshooting any problems that arise later.
- Set Up Real-Time Alerts: Configure your CMS to send immediate notifications for any data mismatches or hardware failures. This allows your team to address issues promptly.
You should also validate the system's real-time performance. Make a price change in your ERP and monitor the propagation time. Confirm how quickly the update appears on the shelf label. This ensures your system can support dynamic pricing strategies effectively. Addressing any data mismatches now prevents future headaches and solidifies the reliability of your decision to buy and install electronic labels.
Post-Installation: Management and Maintenance
Your ESL system is now live, but the work does not stop at installation. You must focus on effective management and routine maintenance to maximize your return on investment. This ensures your system remains reliable, your staff is confident, and your store operates efficiently for years to come.
Training Staff on the New System
You need to empower your team with the knowledge to manage the new digital system. Comprehensive training transforms your staff from users into system experts. They should understand how to link products, update displays, and handle common issues. A well-trained team can quickly solve minor problems without needing technical support.
Troubleshooting Tip: Provide your staff with a simple guide for common issues. If a label fails to update, they can follow these steps:
- Confirm the label is activated correctly.
- Check if the label is too far from the nearest gateway.
- Look for physical obstructions like metal pillars or thick walls blocking the signal.
- Ensure the gateway is not near other wireless devices causing interference.
- Review the gateway's status lights for any error indicators.
Routine System Checks
Regular system checks are crucial for maintaining data integrity and operational stability. You should schedule periodic reviews of your ESL network. During these checks, you can validate that data flows correctly from your ERP to the shelf edge. You can also use the CMS to review system logs for any communication errors or hardware warnings. This proactive approach helps you identify and resolve potential issues before they impact store operations or the customer experience.
Managing Battery Life and Label Health
Modern ESLs have an impressive battery life, but you still need to monitor their health proactively. The Central Management Software (CMS) is your primary tool for this task. It provides a complete overview of every label's status, including its battery level. Keeping an eye on battery health prevents labels from going offline unexpectedly.
You can use your CMS to stay ahead of maintenance needs:
- Regularly check the central dashboard for insights into the battery status of all labels.
- Set up automated alerts that notify you when a label's battery falls below a certain threshold.
This allows you to schedule battery replacements during non-peak hours, ensuring your store always looks its best.
You achieve a successful installation by following four key stages: Plan, Deploy, Sync, and Test. This digital transition automates your pricing, boosts accuracy, and saves significant time compared to manual paper labels. With your new system fully operational, you can now leverage dynamic pricing strategies. This powerful tool helps you create a more responsive and enhanced customer experience in your store.
FAQ
How long does a typical ESL installation take?
Your installation timeline depends on store size and label quantity. A small shop might take one day, while a large supermarket could require several. Proper planning before you start significantly speeds up the deployment process and minimizes disruption to your business.
Can I install the ESL system myself?
You can perform a self-installation, as many systems are designed for user-friendly setup. However, vendors offer professional installation services. These services guarantee optimal gateway placement and system configuration, ensuring a smooth and reliable launch from day one.
What happens if a gateway loses power?
Labels in the affected area will continue to display their last received information. They will not receive new updates until you restore power to the gateway. Planning for overlapping gateway coverage helps minimize the impact of a single point of failure.
How often do I need to change the label batteries?
Most e-paper labels feature a battery life of 5 to 10 years.
Your Central Management Software (CMS) allows you to monitor battery levels proactively. This helps you schedule replacements during off-peak hours, preventing any disruption to store operations.